Vinyl records offer a rich, authentic listening experience. However, they’re also delicate and require proper care to preserve their unique sound quality and longevity. Cleaning your vinyl records is one of the most crucial steps in record maintenance, but it’s easy to make mistakes if you’re unsure of the correct methods. This guide will walk you through the essential do’s and don’ts of cleaning vinyl records.
Why Cleaning Your Vinyl Records Matters
Over time, dust, dirt, and oils from handling will accumulate on your vinyl records. These contaminants can:
- Cause pops, clicks, and other unwanted noise
- Damage the grooves, reducing the lifespan of your records
- Harm your stylus, leading to costly replacements
A clean record not only improves sound quality but also protects your entire record playing setup.

Do's of Cleaning Vinyl Records
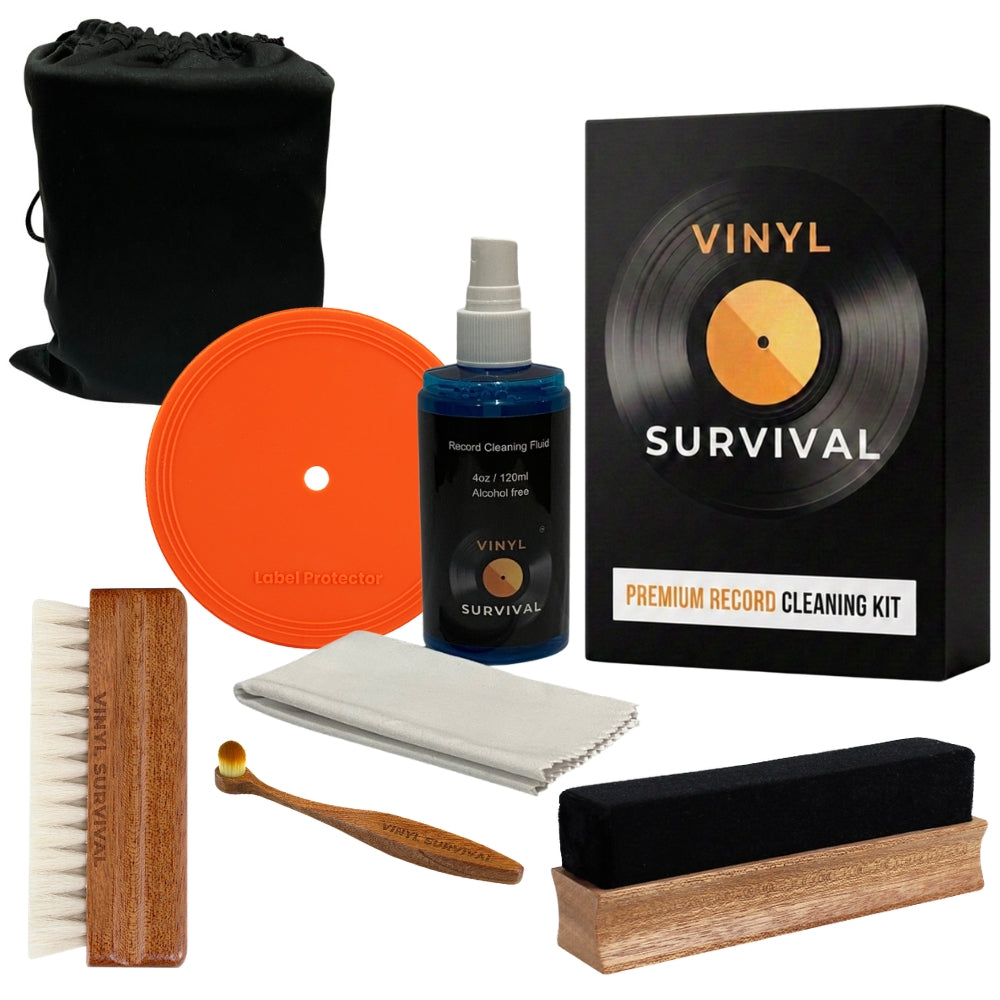
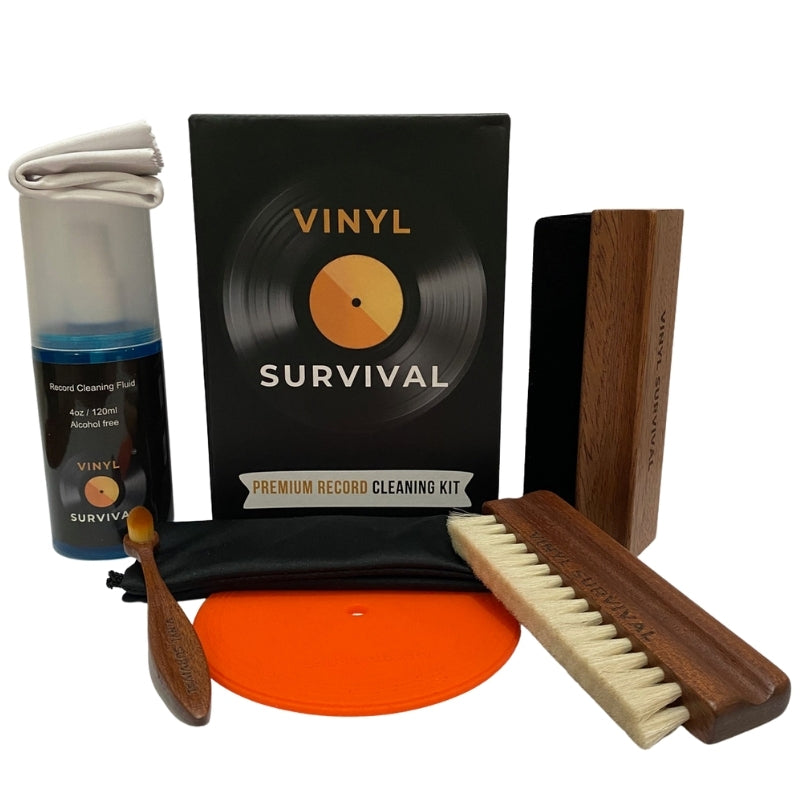
1. Use a complete Vinyl Record Cleaning Kit
Invest in a quality vinyl record cleaning kit that includes at minimum a cleaning solution and a soft anti-static brush. These kits are specifically designed to remove debris without damaging your records.

2. Brush Before and After Playback
Using an anti-static brush, gently remove surface dust before and after playing a record. This habit prevents dust from settling deeper into the grooves.

3. Use a Soft Microfiber Cloth
When doing quick cleans, always use a soft microfiber cloth. It’s gentle on the record’s surface and won’t leave scratches.

4. Clean in a Circular Motion
Always clean along the grooves of the record, never across them. Cleaning in the wrong direction can damage the grooves and affect playback quality.
5. Store Records Properly
Once cleaned, store your records in anti-static sleeves and upright in a cool, dry place. Proper storage prevents the accumulation of dirt and dust.

Don'ts of Cleaning Vinyl Record Records
1. Avoid Household Cleaners
Never use household cleaning products like glass cleaners or all-purpose sprays. These contain harsh chemicals that can damage the vinyl surface and leave residue.

2. Don't Use Excess Water or Cleaning Solution
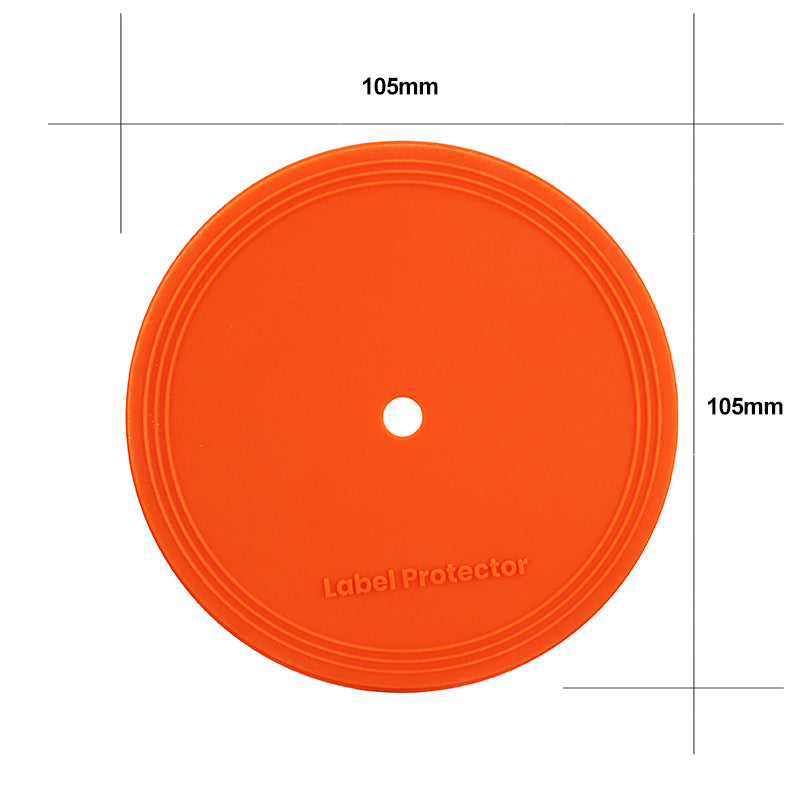
Water can seep into the record label and cause it to warp or bubble. If you use water, ensure it’s distilled and applied sparingly with a damp cloth. A record label protector is a good option during cleaning.

4. Avoid Cotton or Paper Towels
Cotton and paper towels can leave lint behind and may scratch the record’s surface.

5. Don't Skip Regular Cleaning
Neglecting cleaning leads to dirt build up, which can permanently damage your records and record player stylus over time.
A Step-by-Step Cleaning Routine
1. Gather Your Supplies
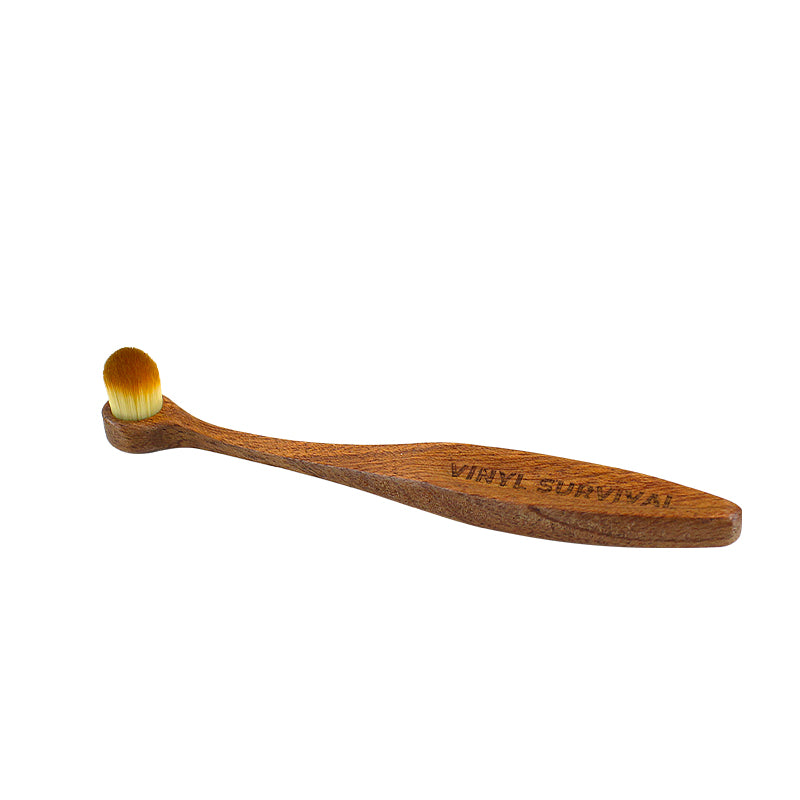
- A deep grove cleaning anti-static bristle brush (preferably natural bristles like goat hair)
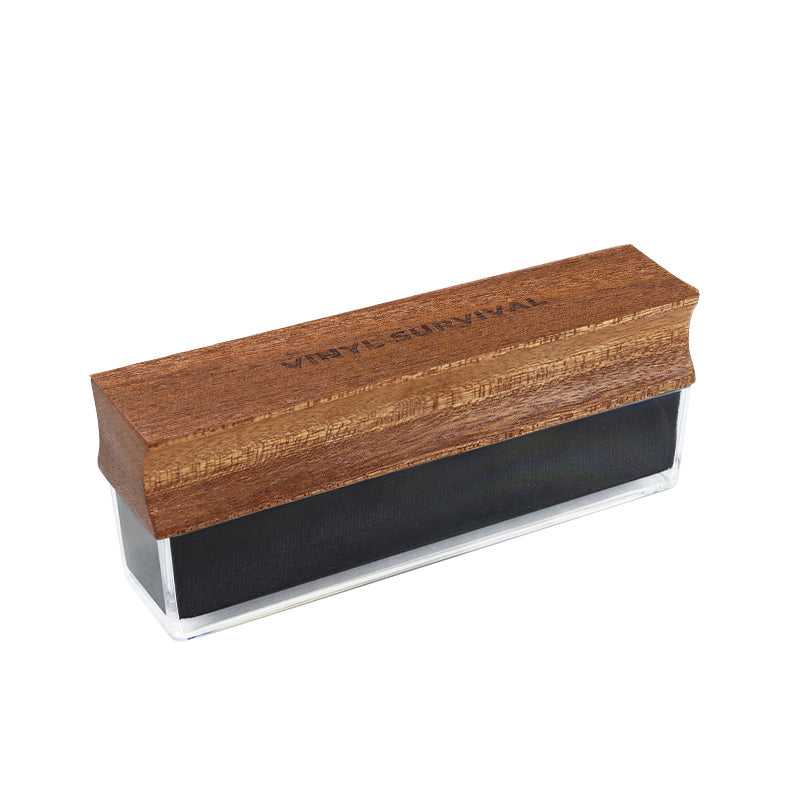
- An anti-static soft velvet brush
- Record cleaning fluid or distilled water
- Record Label Protector
- Microfibre cleaning cloth
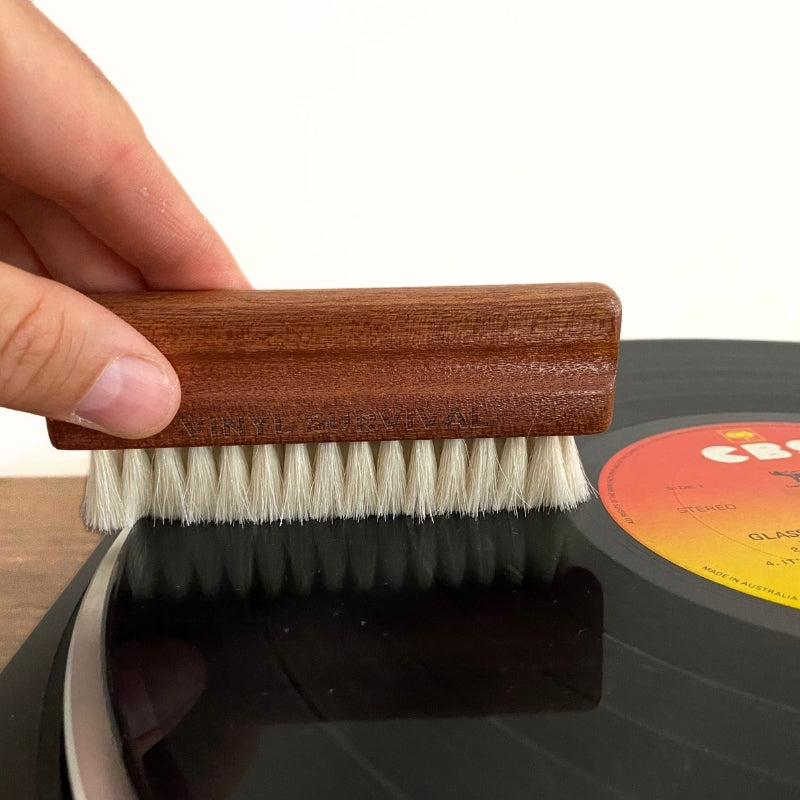
2. Remove the Deep Grime First
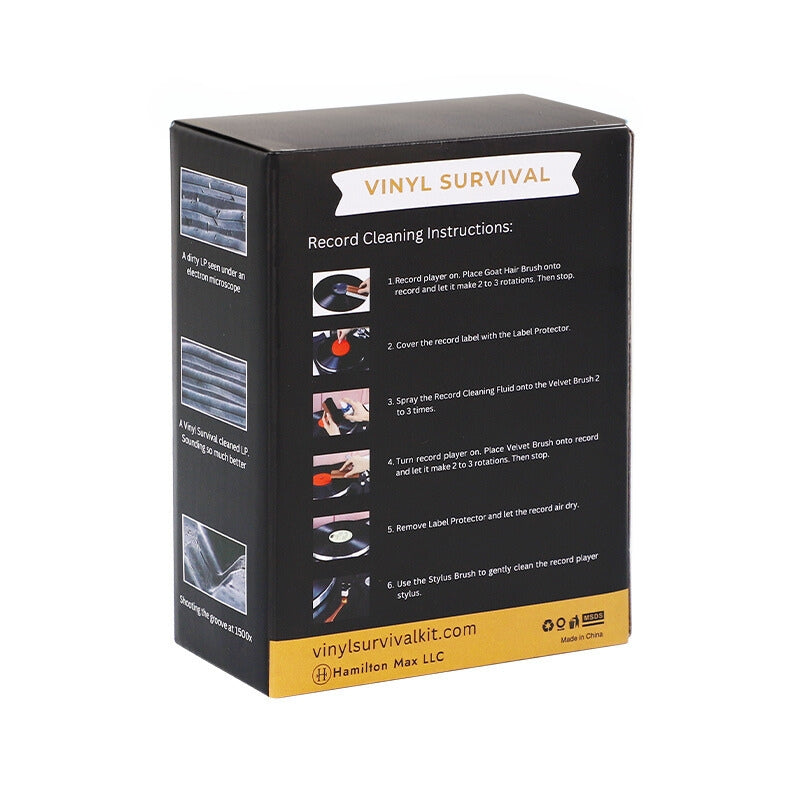
For ease, place LP on your record player and turn on. Place the natural bristle brush on the record surface for 2-3 record rotations.

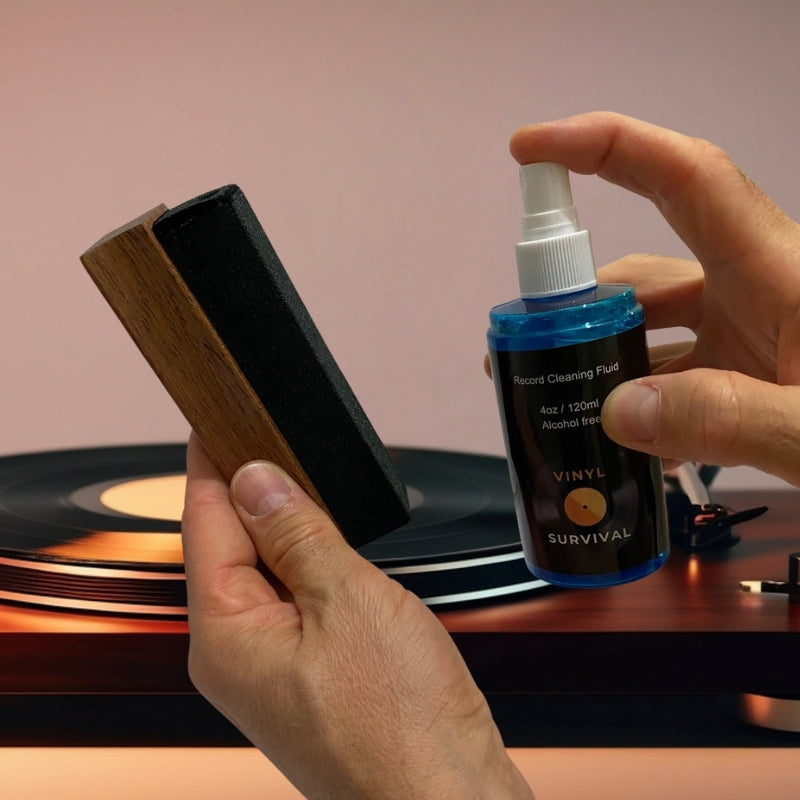
3. Remove Remaining Surface Dust
- Place record label protector onto record
- Spray the cleaning solution (or distilled water) onto the anti-static soft velvet brush
- Apply the brush to the record for 2-3 record rotations

4. Microfiber Cloth for Quick Cleaning
Use the cloth, preferably with cleaning fluid sprayed onto it, and wipe the record. Clean in a circular motion along the grooves, avoiding the label area.

5. Let it Dry
Allow the record to air dry completely before playing or storing.

6. Clean Stylus, Clear sound (optional)
If you have a record player stylus cleaner, use it too.

Maintaining Your Collection
In addition to cleaning, follow these best practices to keep your vinyl records in great condition:
- Handle With Care: Always hold records by the edges to avoid transferring oils from your fingers.
- Use a Turntable Dust Cover: Protect your turntable and records from airborne dust.
- Inspect Before Playing: Regularly check your records for dirt or scratches to prevent damage during playback.
Conclusion
Properly cleaning your vinyl records ensures they sound their best and last for years to come. By following the do’s and avoiding the don’ts outlined in this guide, you can enjoy the warm, rich sound of your favorite albums without worrying about wear and tear. And remember, investing in a high-quality vinyl record cleaning kit is the first step toward preserving your collection.
Happy listening!